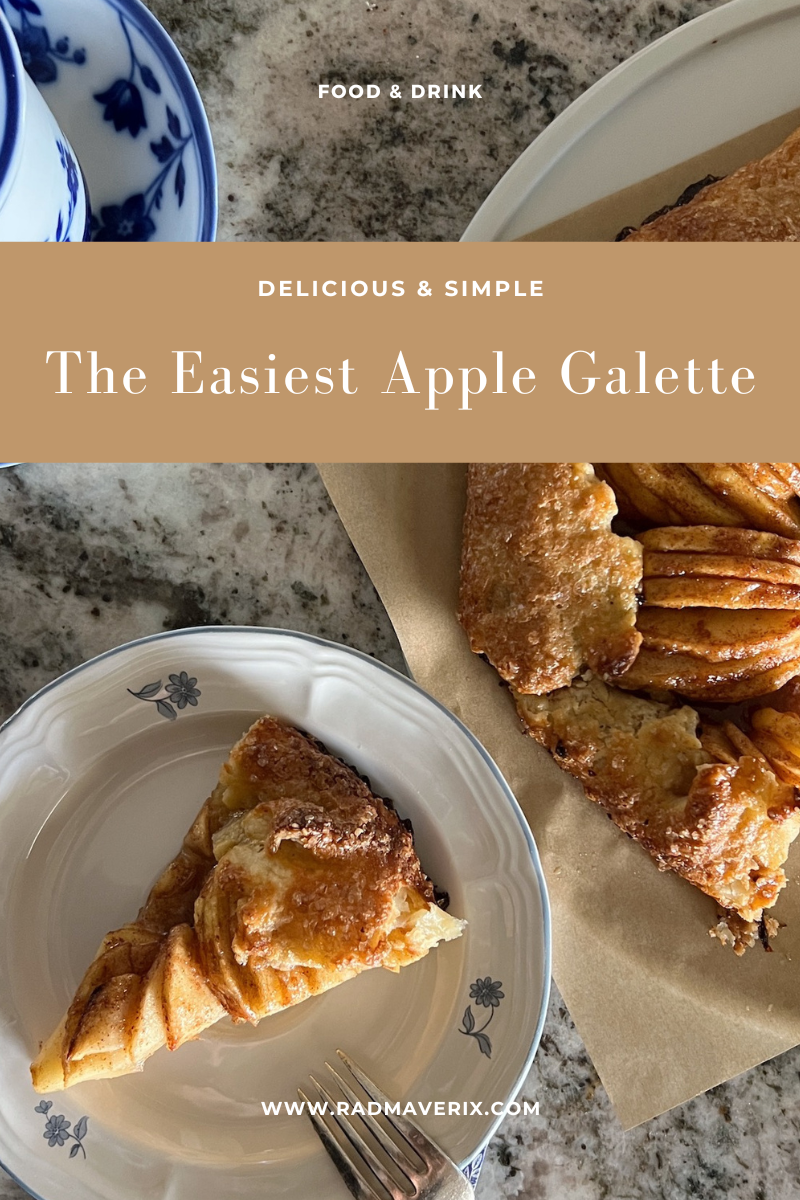
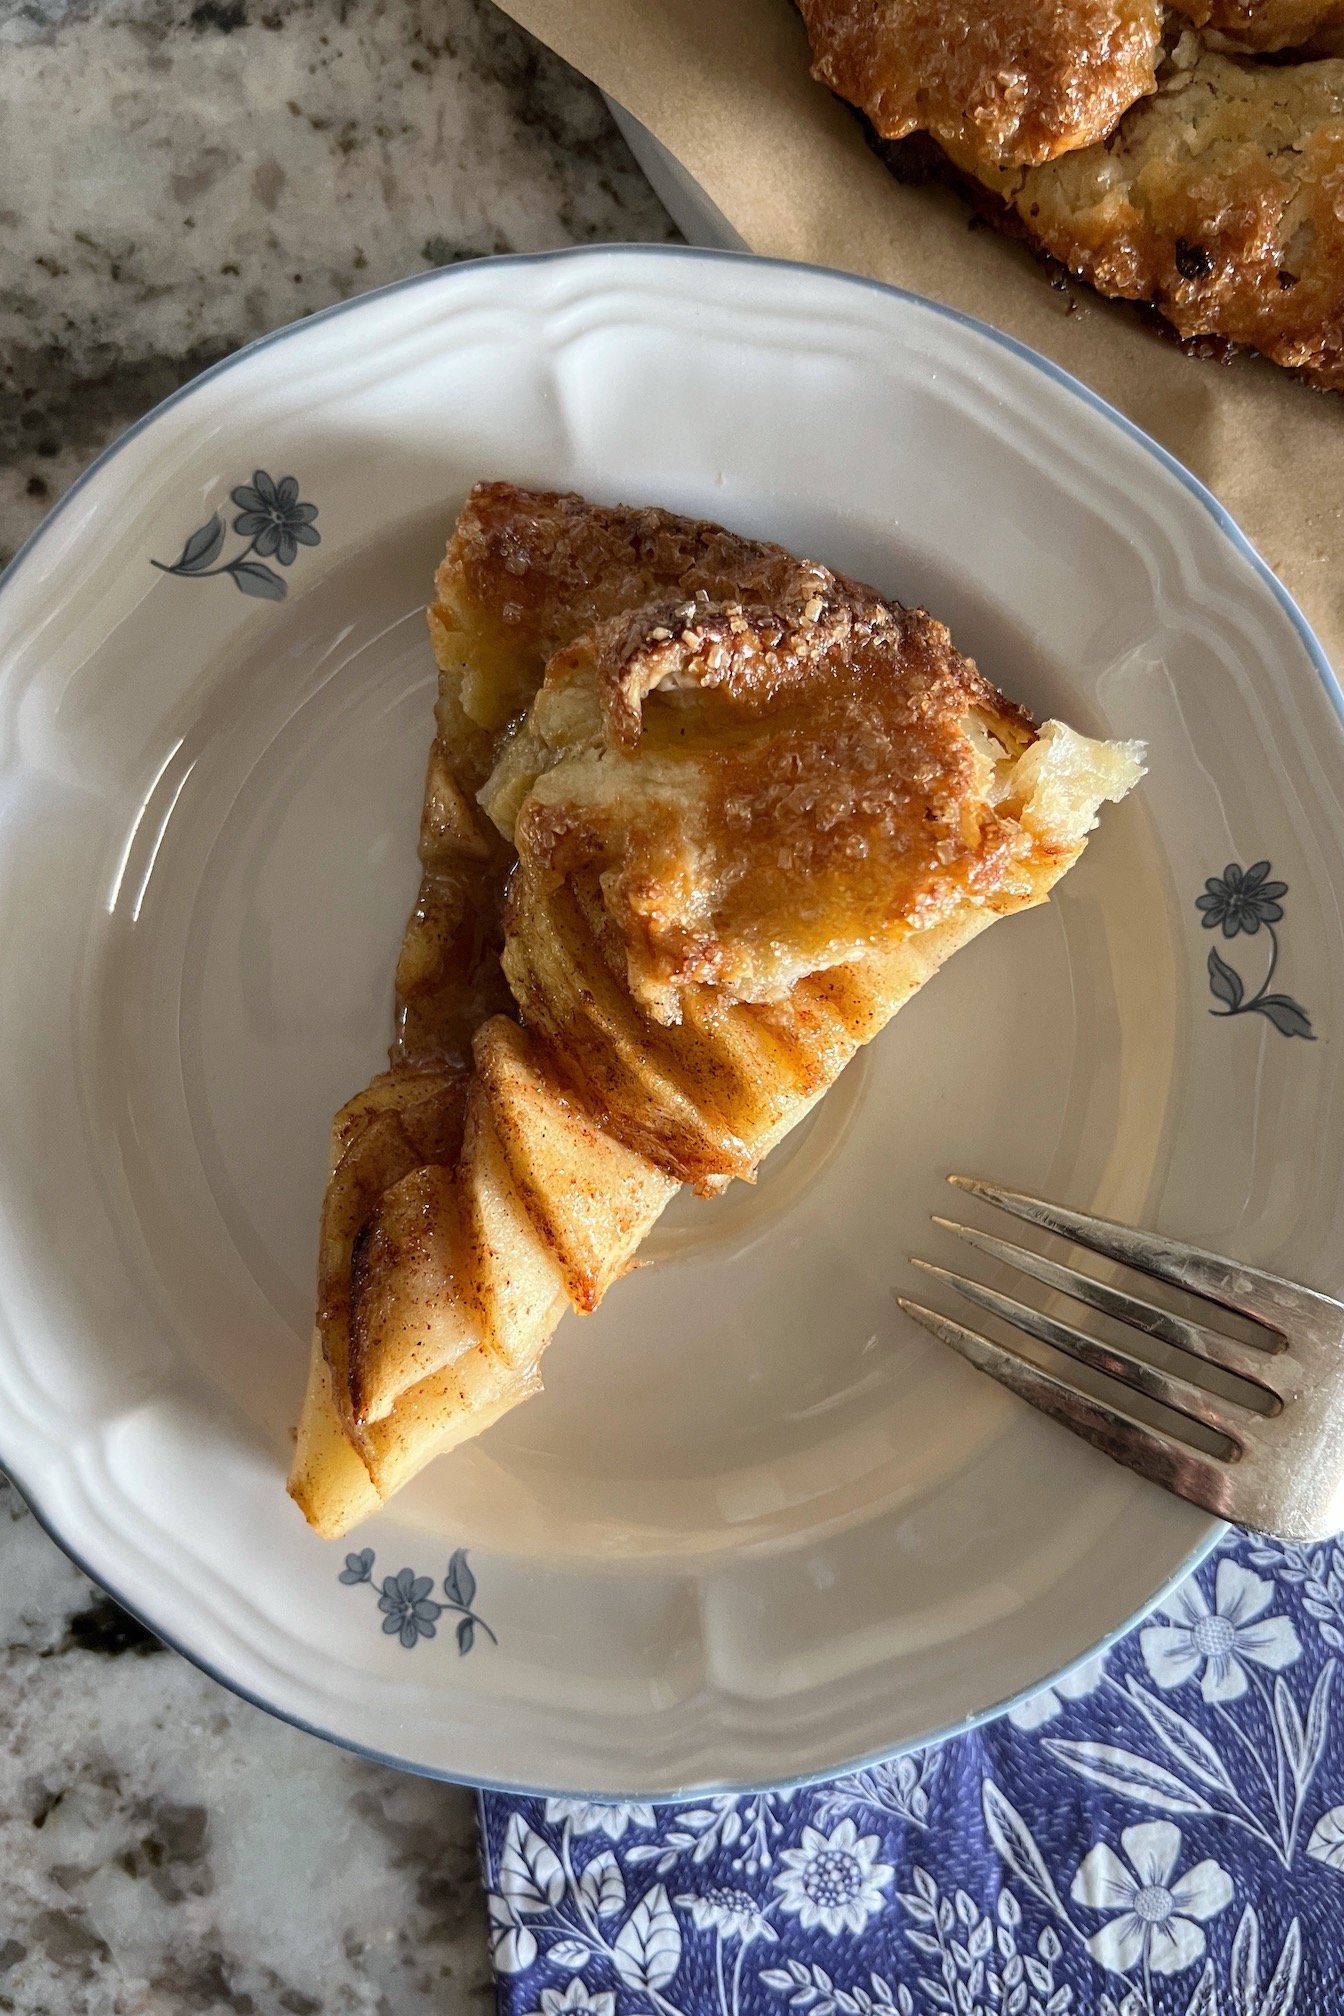
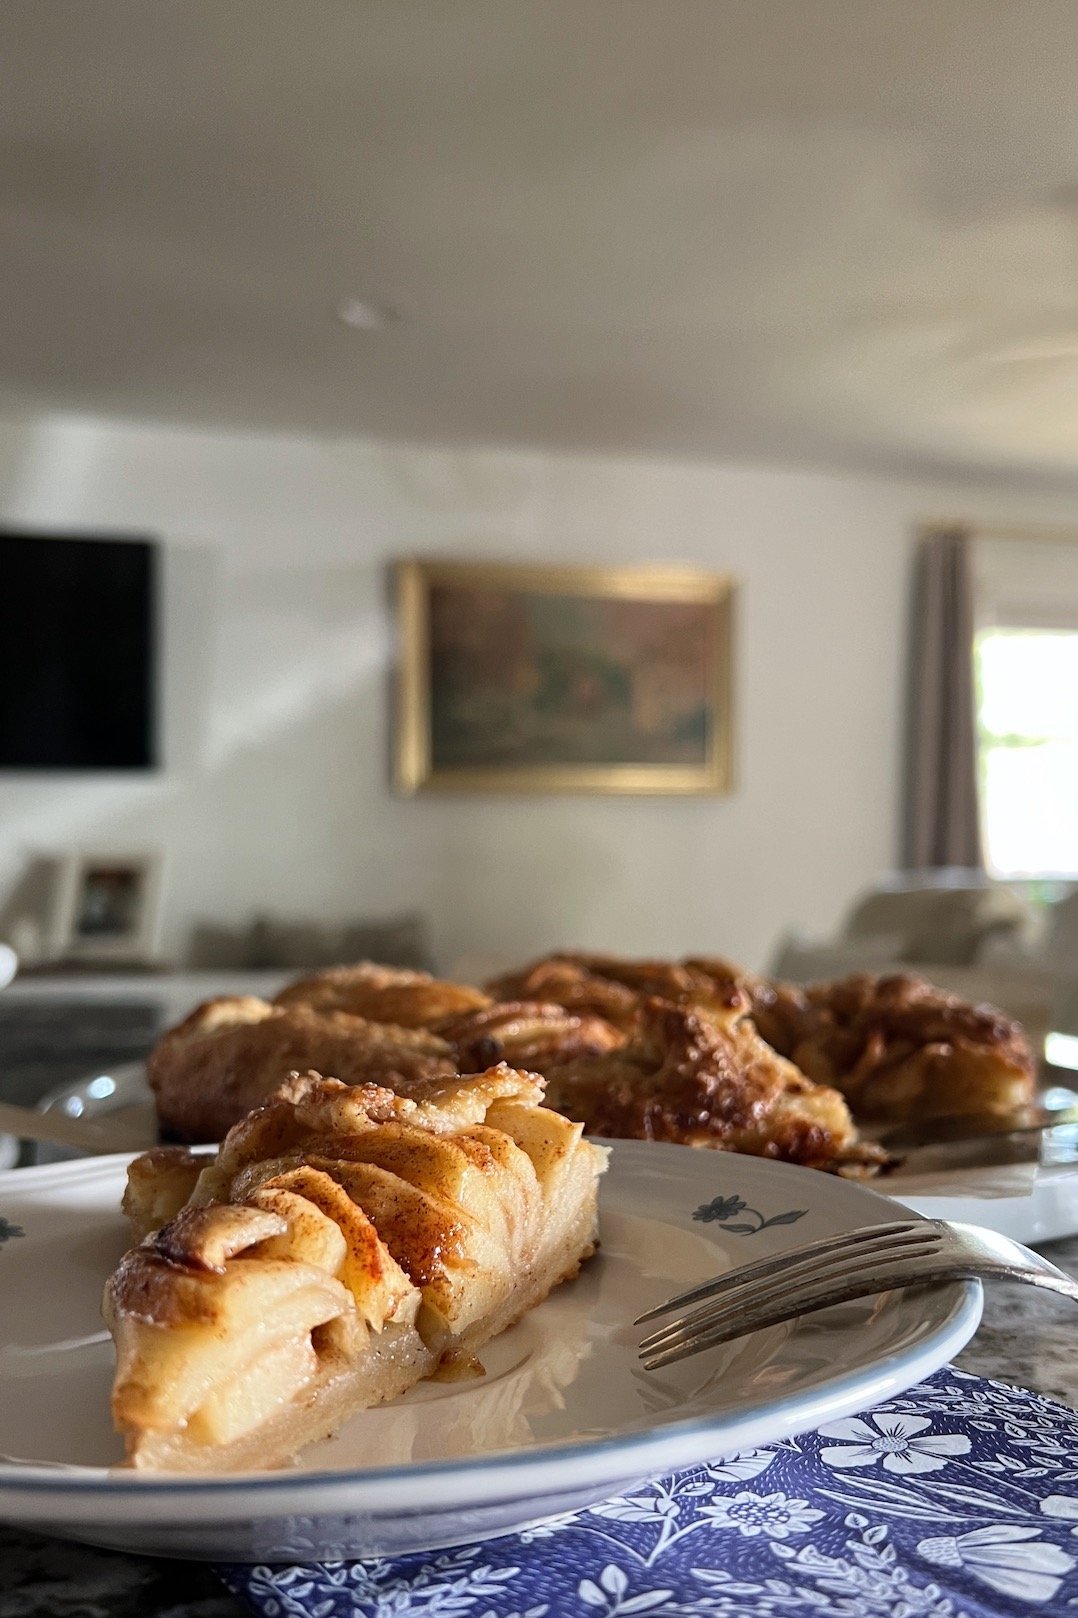
The Easiest Apple Galette 🍎
Honeycrisp apples were on sale at the grocery last week, so I snagged a couple of bags (when are Honeycrisp apples ever on sale?!). We could not get through all the apples without them going mushy first, so I decided to make some snacks and treats. First up, this apple galette with a homemade pastry crust. And if it's your first time making a homemade crust, please don't be intimidated. This recipe is fail-proof!
Next, I will try to recreate my late Grandma June's chunky cinnamon applesauce. She would often make this for an afterschool snack when I was in elementary. I don't have a recipe or measurements, but I will try to fumble my way through it.
I can't wait until peaches are back in season to swap out the apples for peaches and then add a scoop of homemade peach ice cream on top!
A couple notes:
It is essential to use real butter and to work the pastry dough quickly, to prevent the butter from melting while handling and rolling out the dough. You should be able to see bits of butter when rolling out the dough.
Reserve what's left of the lemon/sugar mixture, and brush onto the apples after the galette has baked to make the apples shinier.
After sprinkling the crust with sugar, it's a good idea to use a wet paper towel to wipe off any sugar that has fallen onto the baking sheet, so it doesn't burn in the oven.
The Easiest Apple Galette
Ingredients: for the crust
1 1/2 cups flour (I use all-purpose)
1 tbsp sugar
1 tsp salt
12 tbsp unsalted butter, cut into small chunks; keep cold until you need it
1/4 cup cold water (may need less or a bit more depending on the consistency of the dough)
Ingredients: for the galette
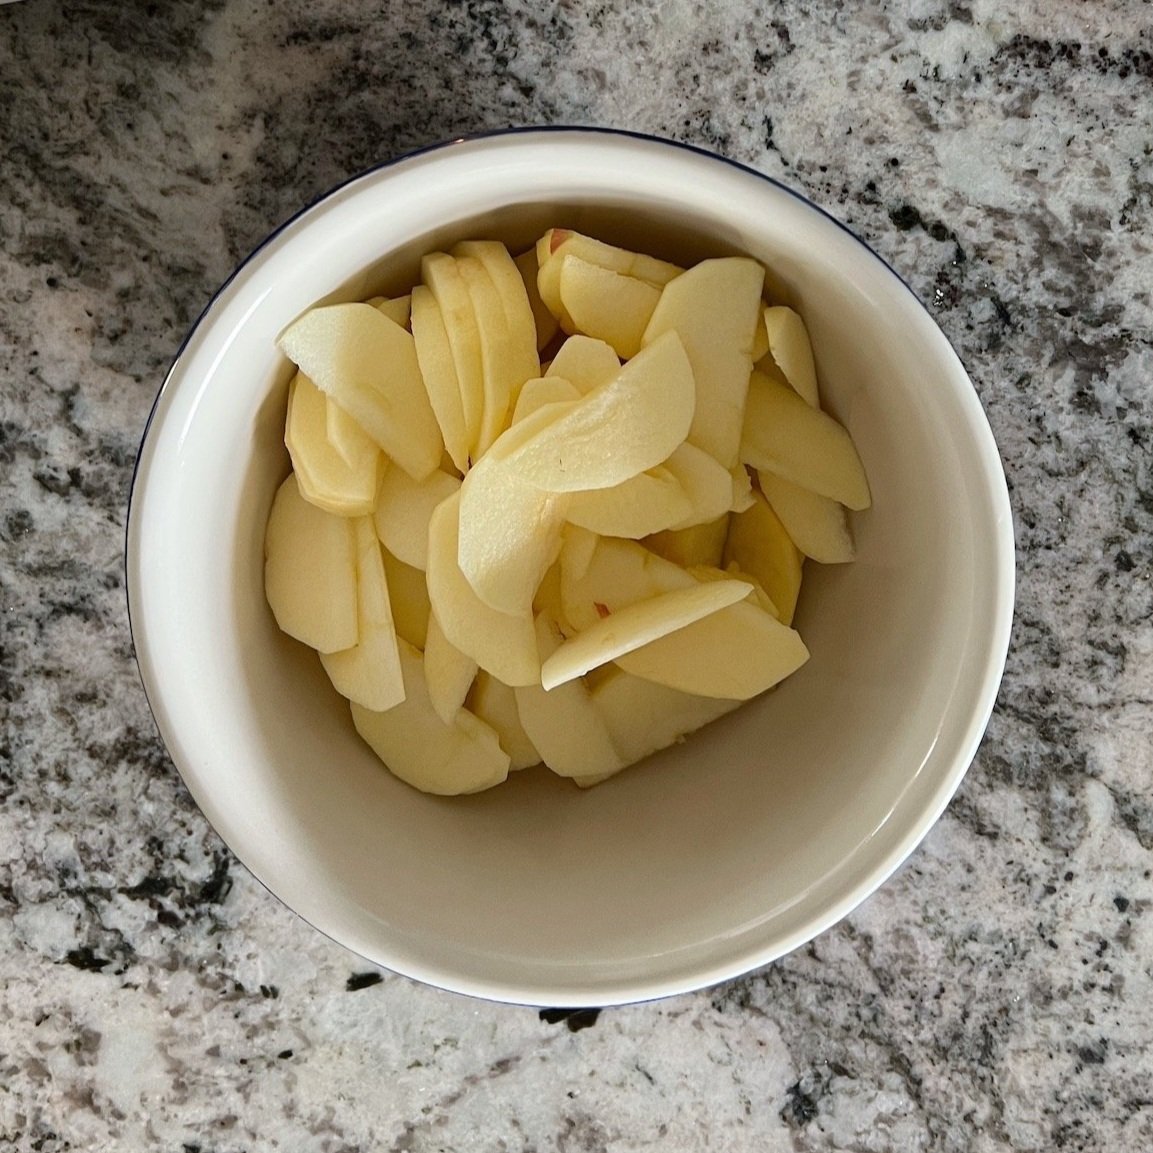
3 apples, peeled and sliced thinly (I use Honeycrisp)
1/4 cup brown sugar, packed
The juice and zest of one lemon
1 tbsp cornstarch
1 tsp ground cinnamon
1 tsp ground ginger
1/2 tsp salt
1 egg
2 tbsp raw/turbinado sugar (or regular/granulated)
2 tbsp butter, cut into small cubes
Directions: for the crust
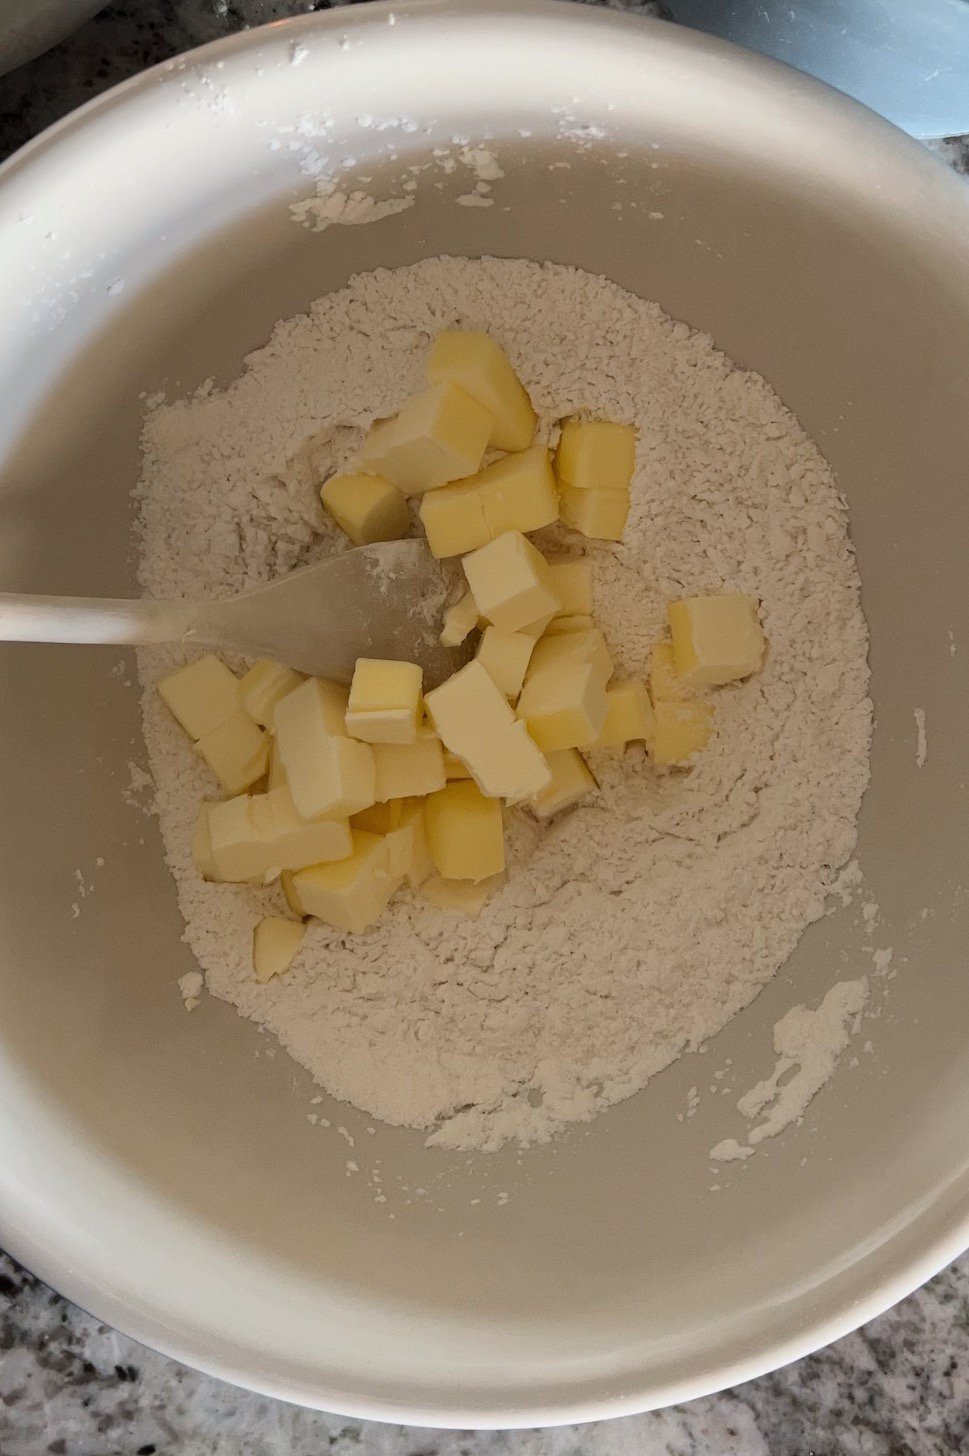
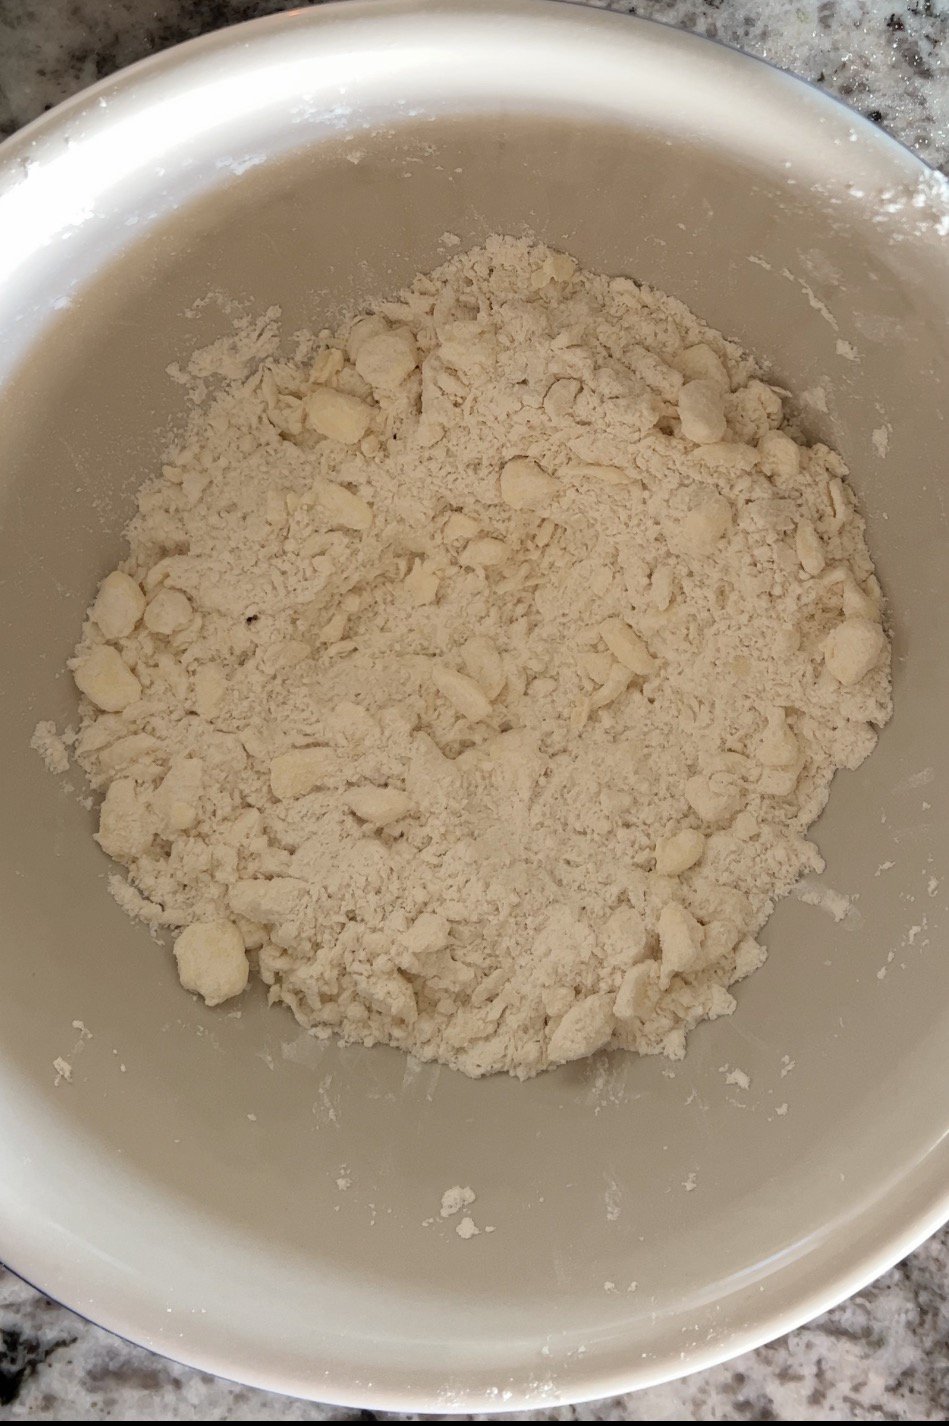
Mix the flour, sugar, and salt in a large bowl. Add the cold butter, and press the butter between your thumbs and forefingers into small lumps. Combine just until the texture is crumbly and pea-sized.
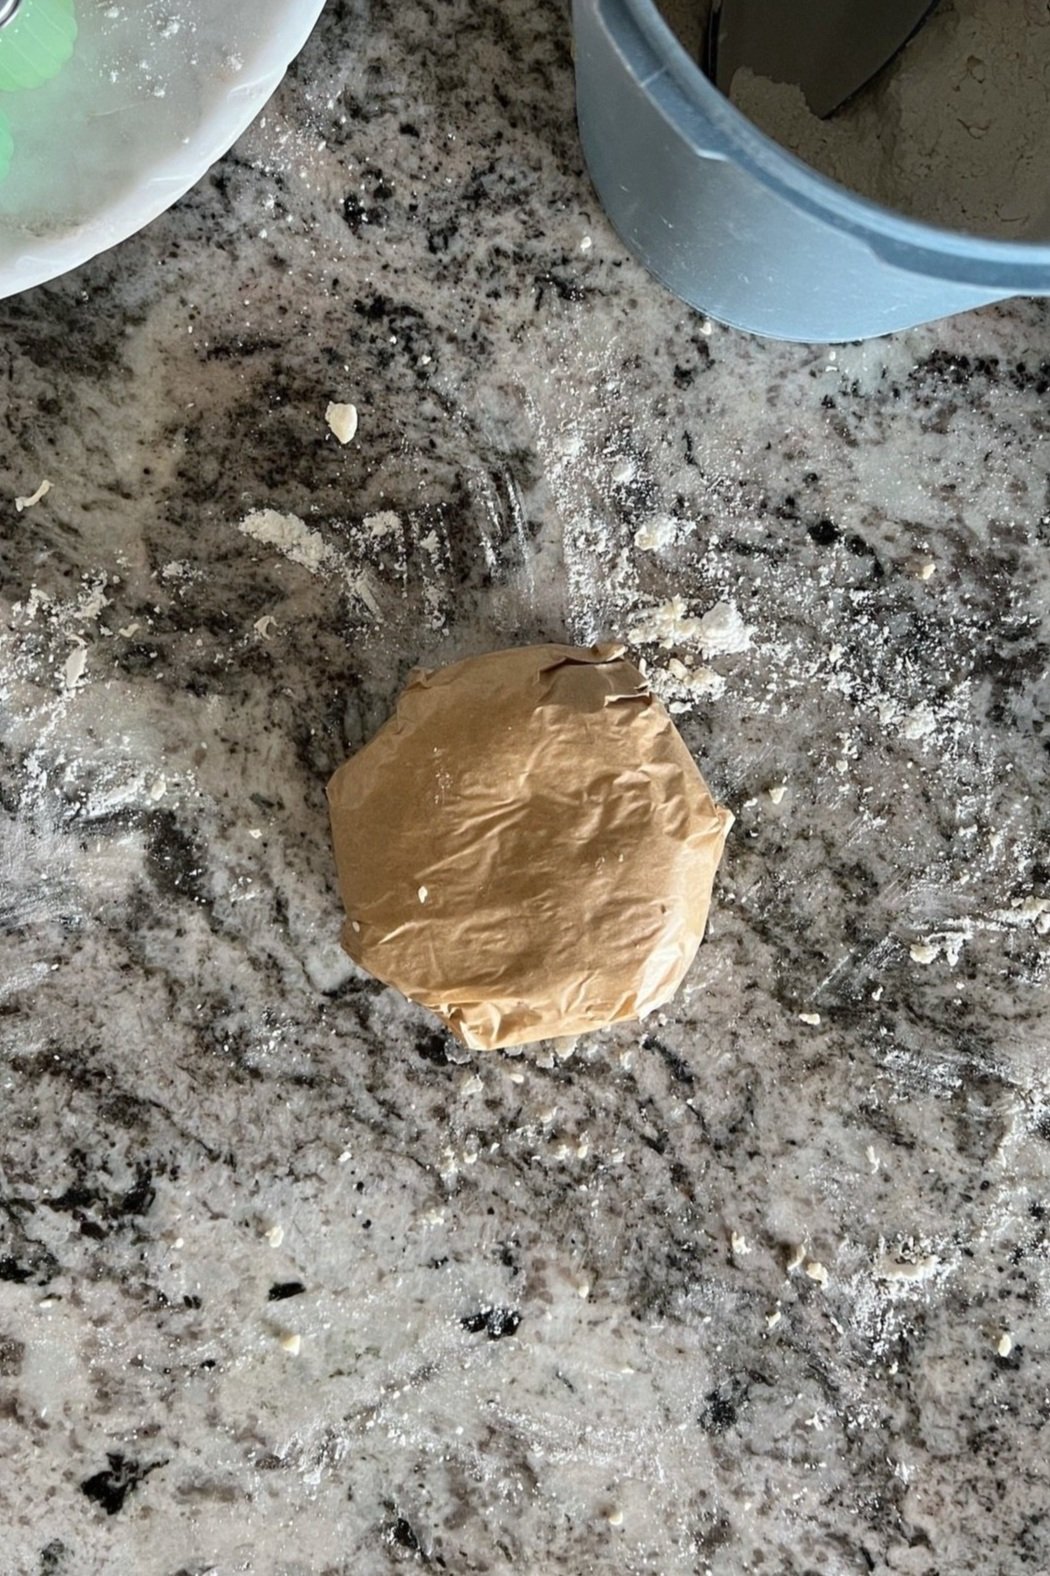
Add a small bit of cold water (don't use the entire 1/4 cup; you may not need it) and combine the dough with your hands. Only add enough water until the dough holds together when pressed into a ball. Wrap with parchment paper or plastic wrap and chill in the fridge while we prepare the apples. The longer the dough can chill, the better. I recommend at least 45 minutes.
Directions: for the galette
Preheat the oven to 400° F and line a cookie sheet with parchment paper (or use a silicone baking mat).
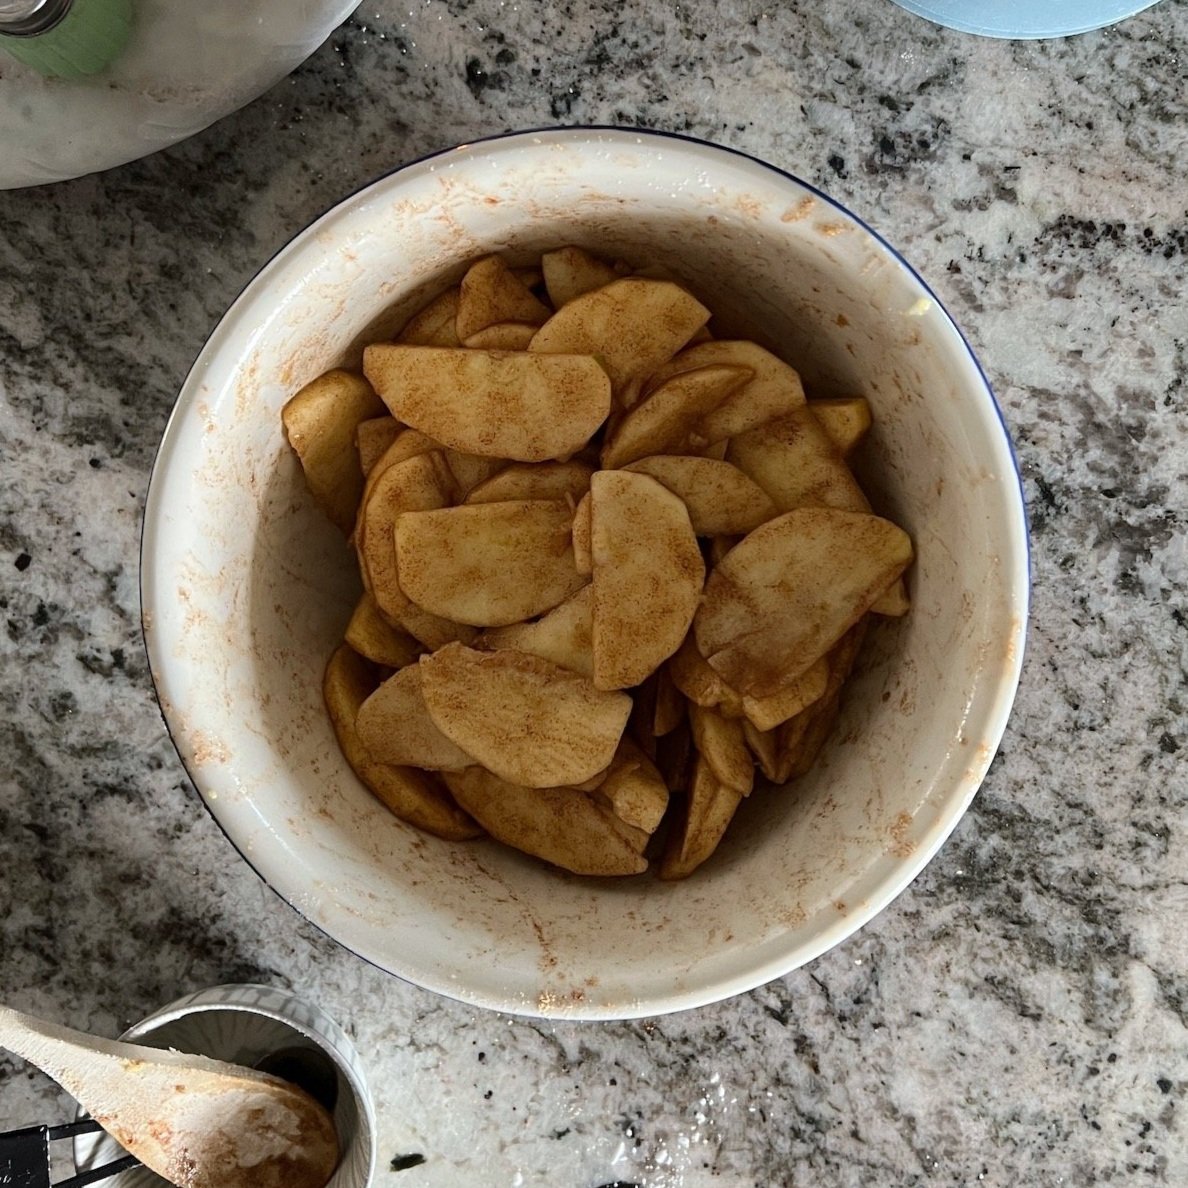
In a large bowl, toss the apples with the lemon juice and zest. Next, add the brown sugar, cornstarch, cinnamon, ginger, and salt.
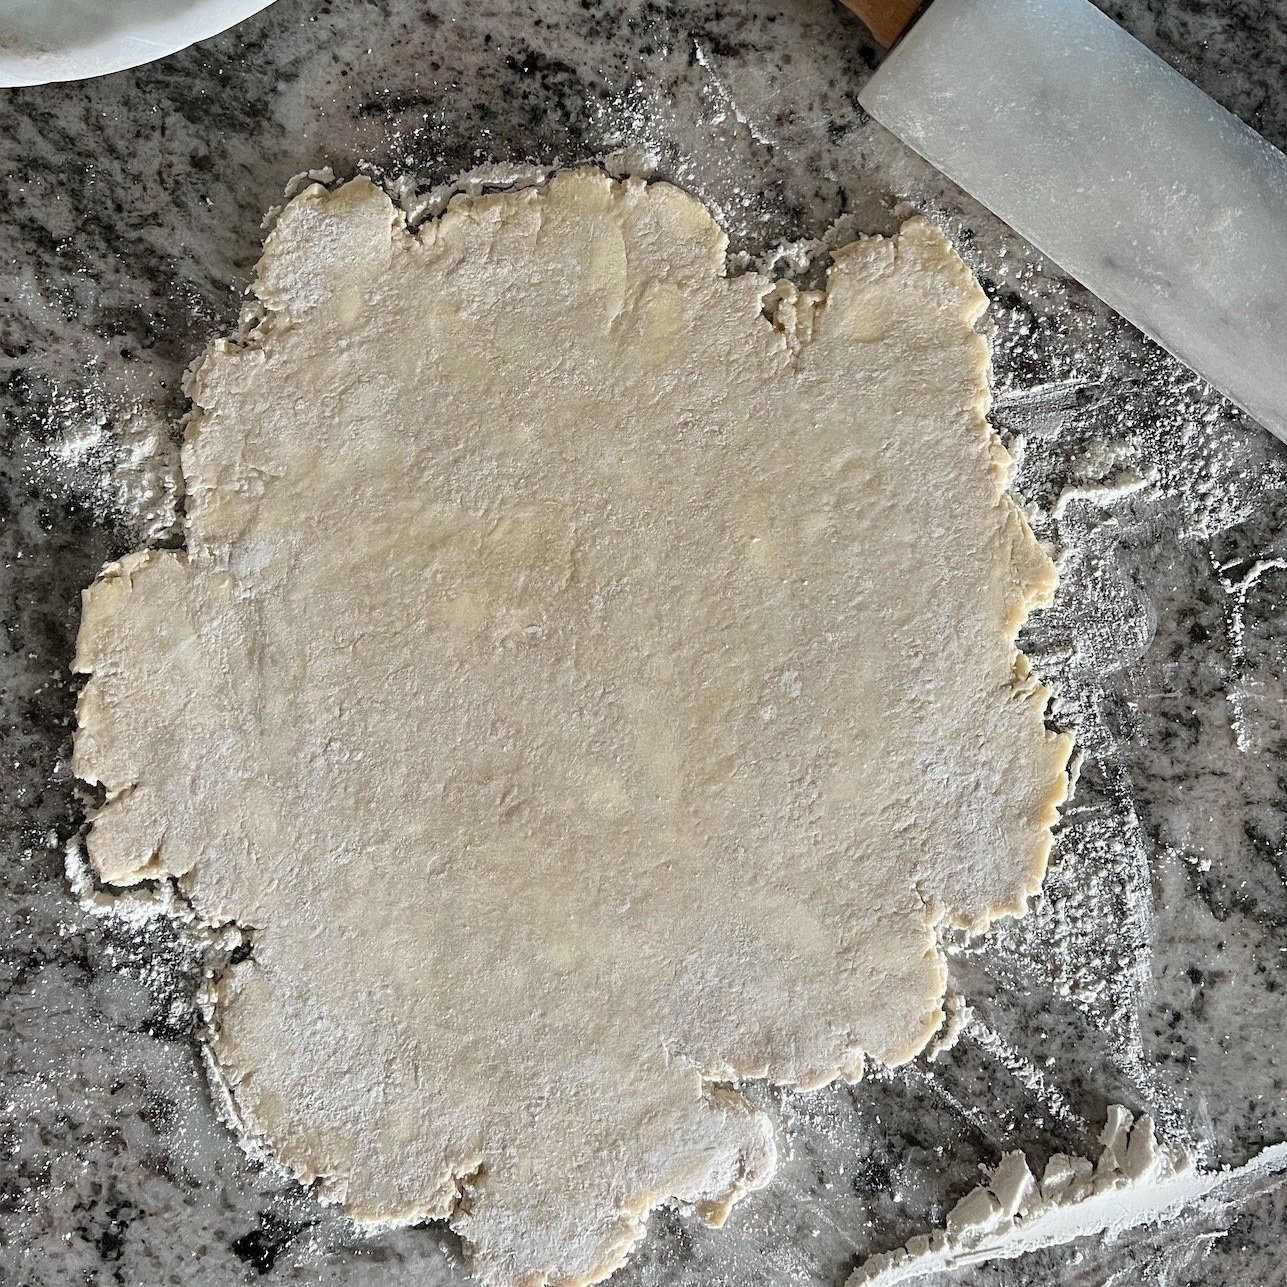
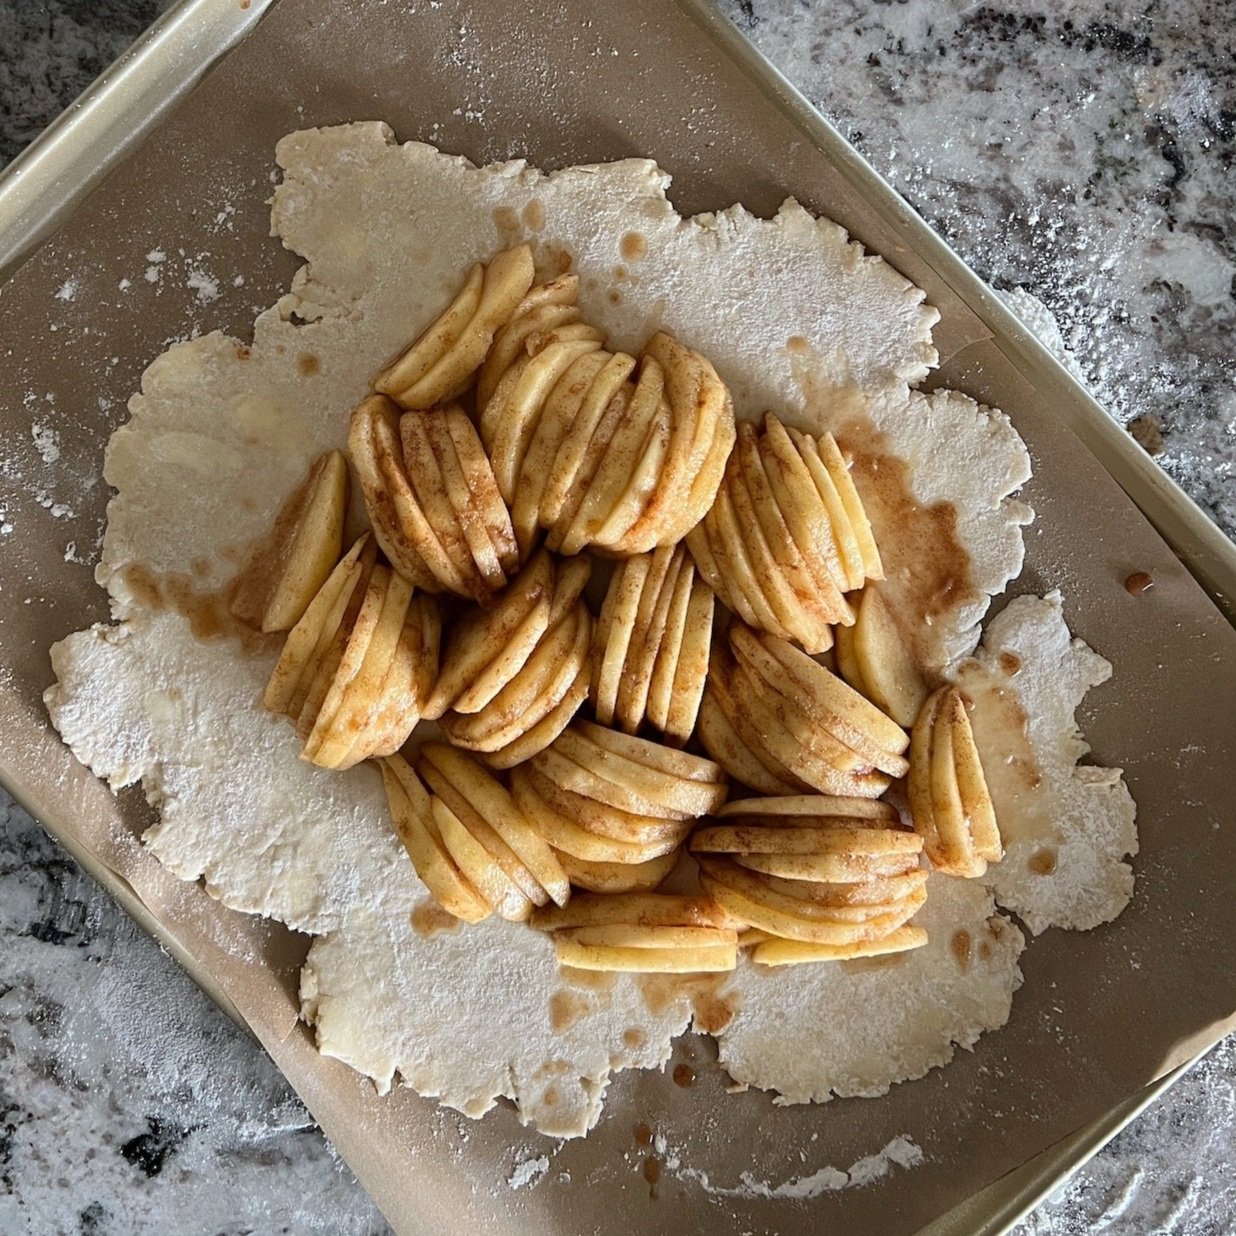
Lightly dust a clean surface with flour and roll out the chilled dough until you've reached an even thickness and approximately 12-14 inches in diameter. Don't stress about rolling out the perfect circle; this doesn't have to be perfect! We're going for 'perfectly imperfect.'
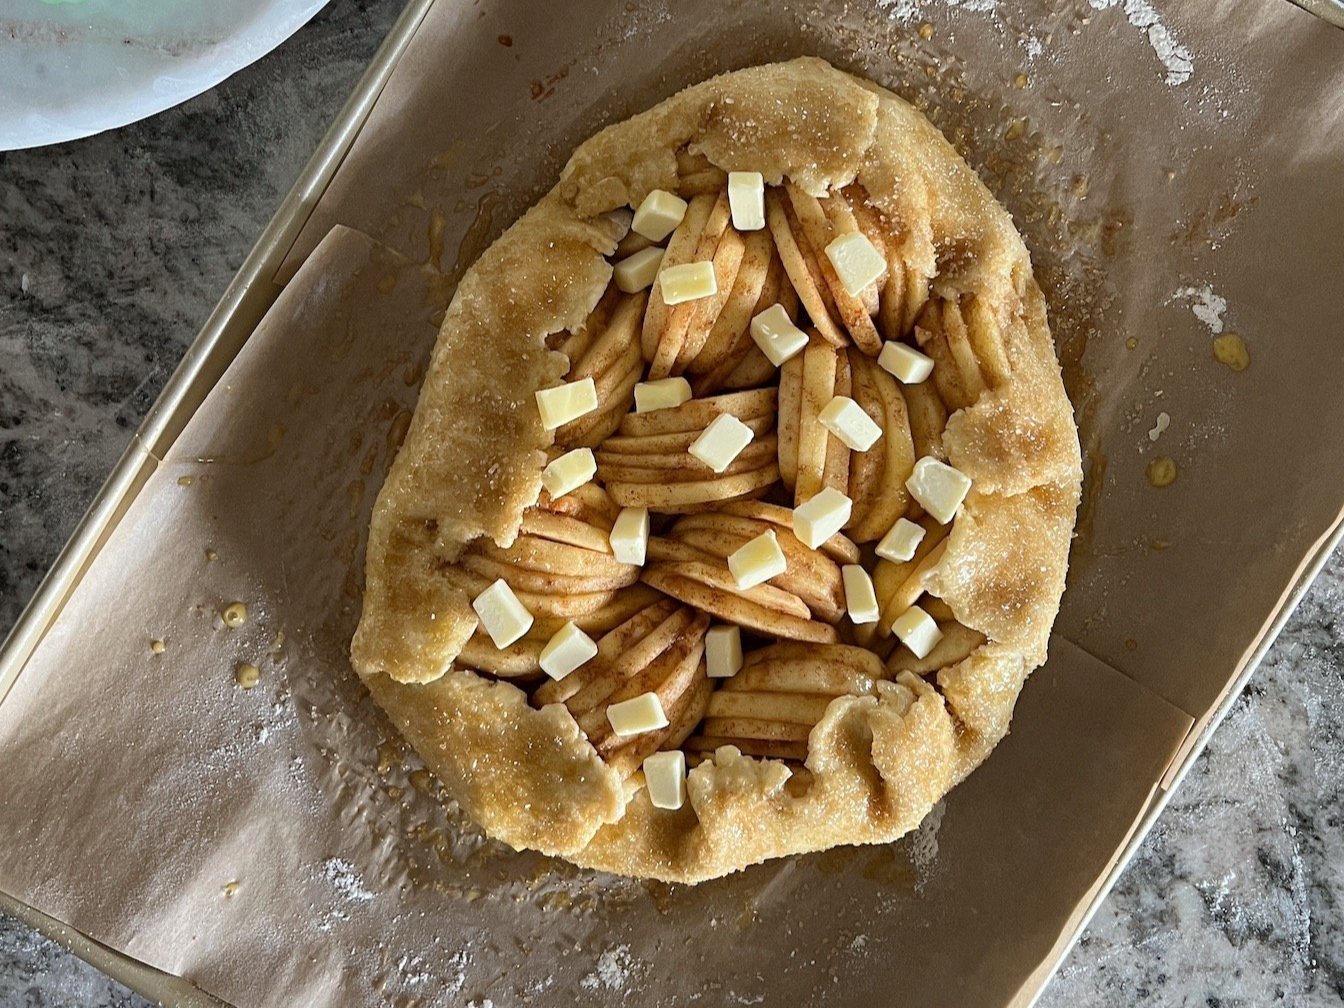
Gently move the dough to your baking sheet and arrange the apple slices in rows until you're left with approximately 2 inches of crust. If the dough starts to crack around the edges, patch them back together by pinching the dough between your fingers. Fold the overhang of dough over the apples towards the center, creating what appears to be a small basket of apples.
In a small bowl, beat the egg and brush the crust with the egg wash. Generously sprinkle the crust with raw sugar. Finally, take the remaining 2 tbsp of butter and dot the apples.
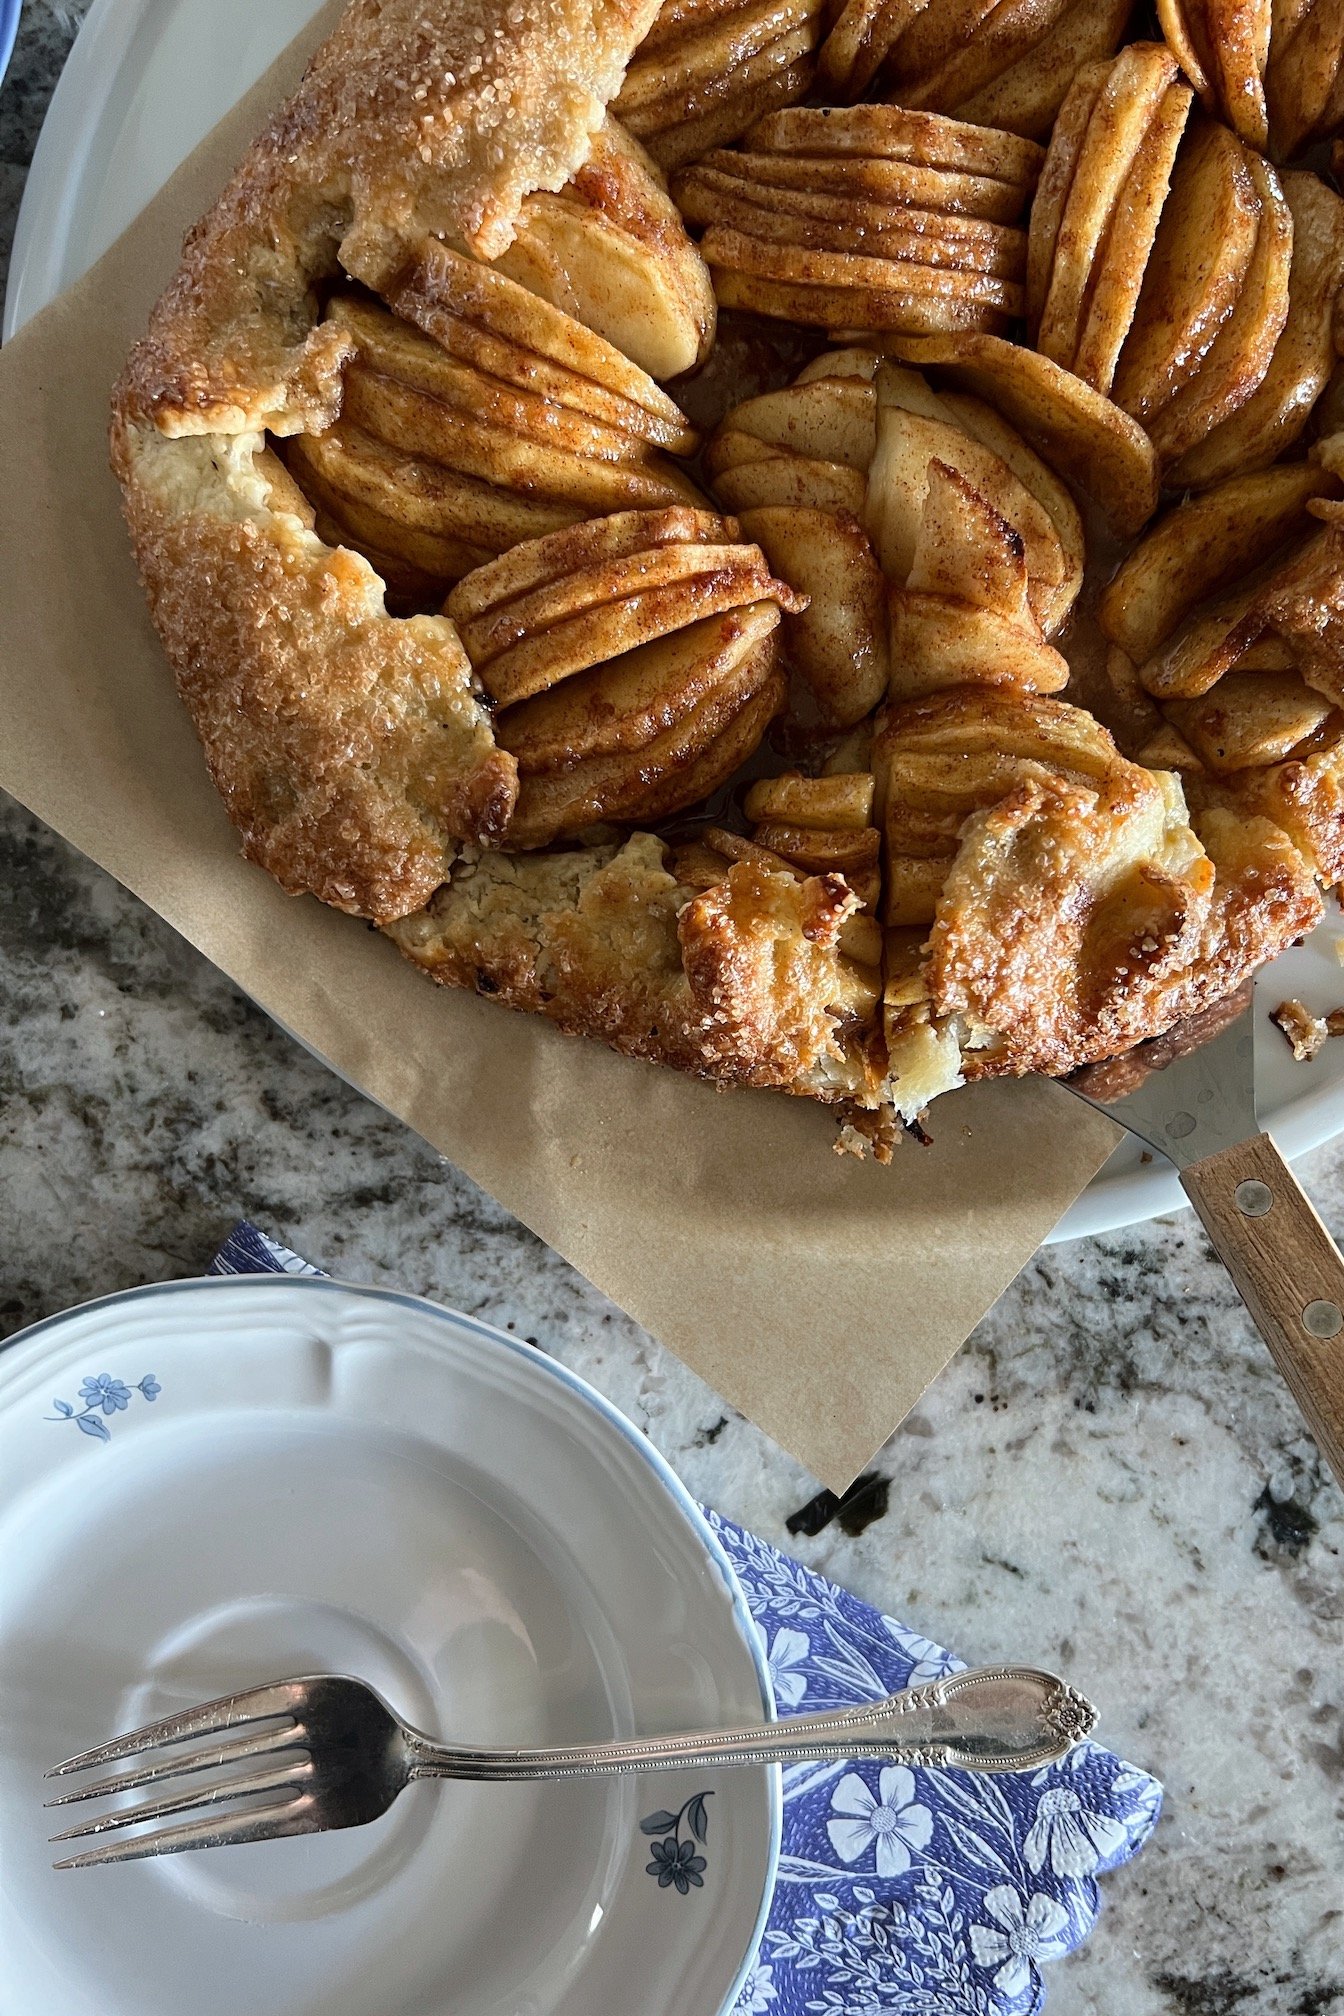
Bake at 400° F for 30-35 minutes, rotating halfway through. The crust should be a nice golden brown, and the apples will be soft and bubbling.
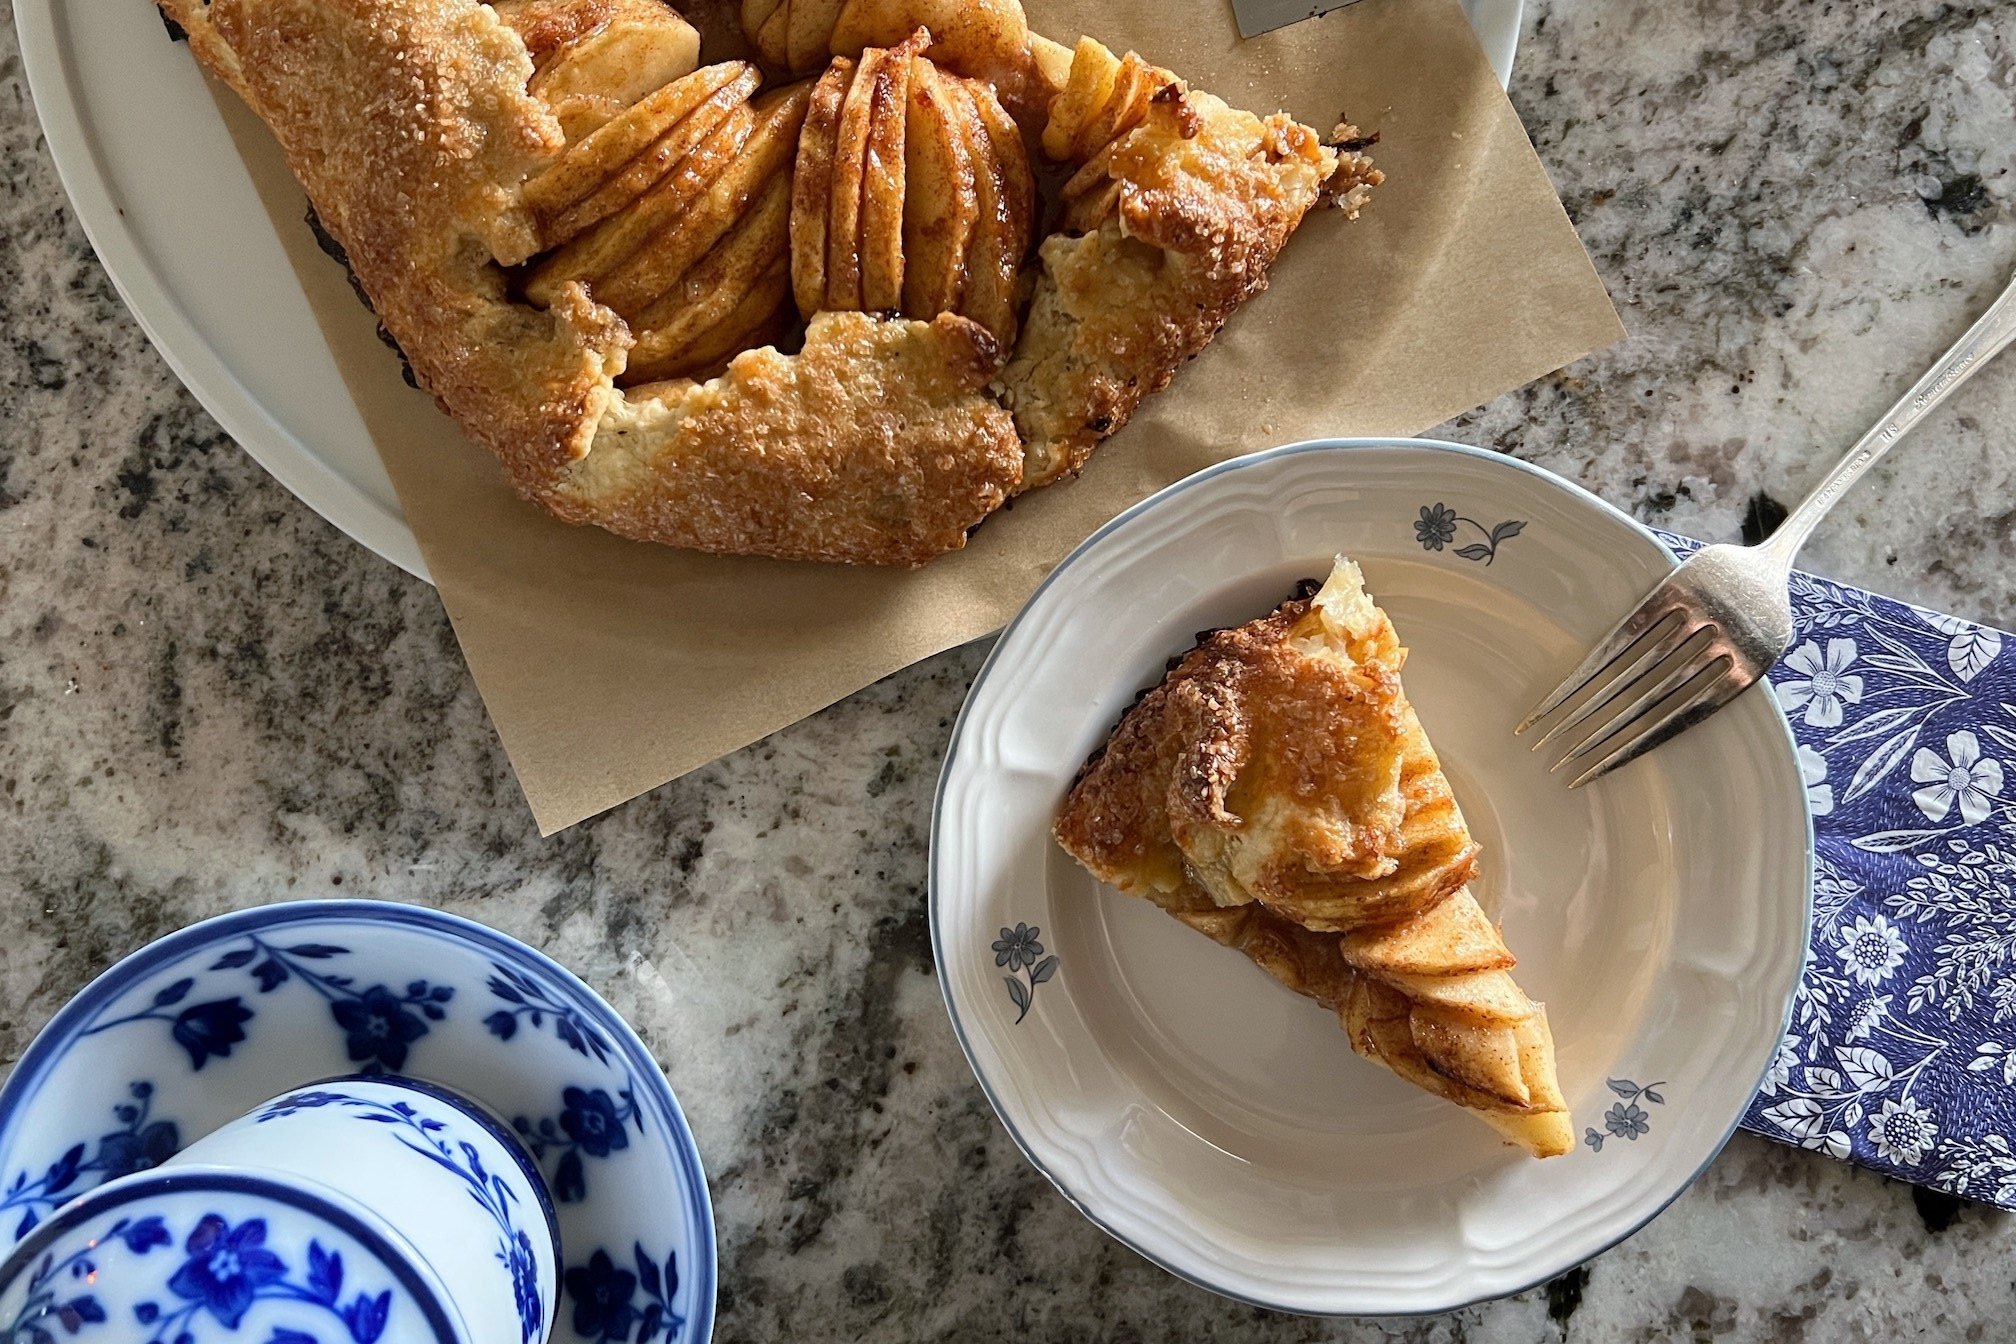
Optional: After removing the galette from the oven (and while still hot!), use a clean pastry brush and brush the remaining juice over the apples to give them a shiny look!
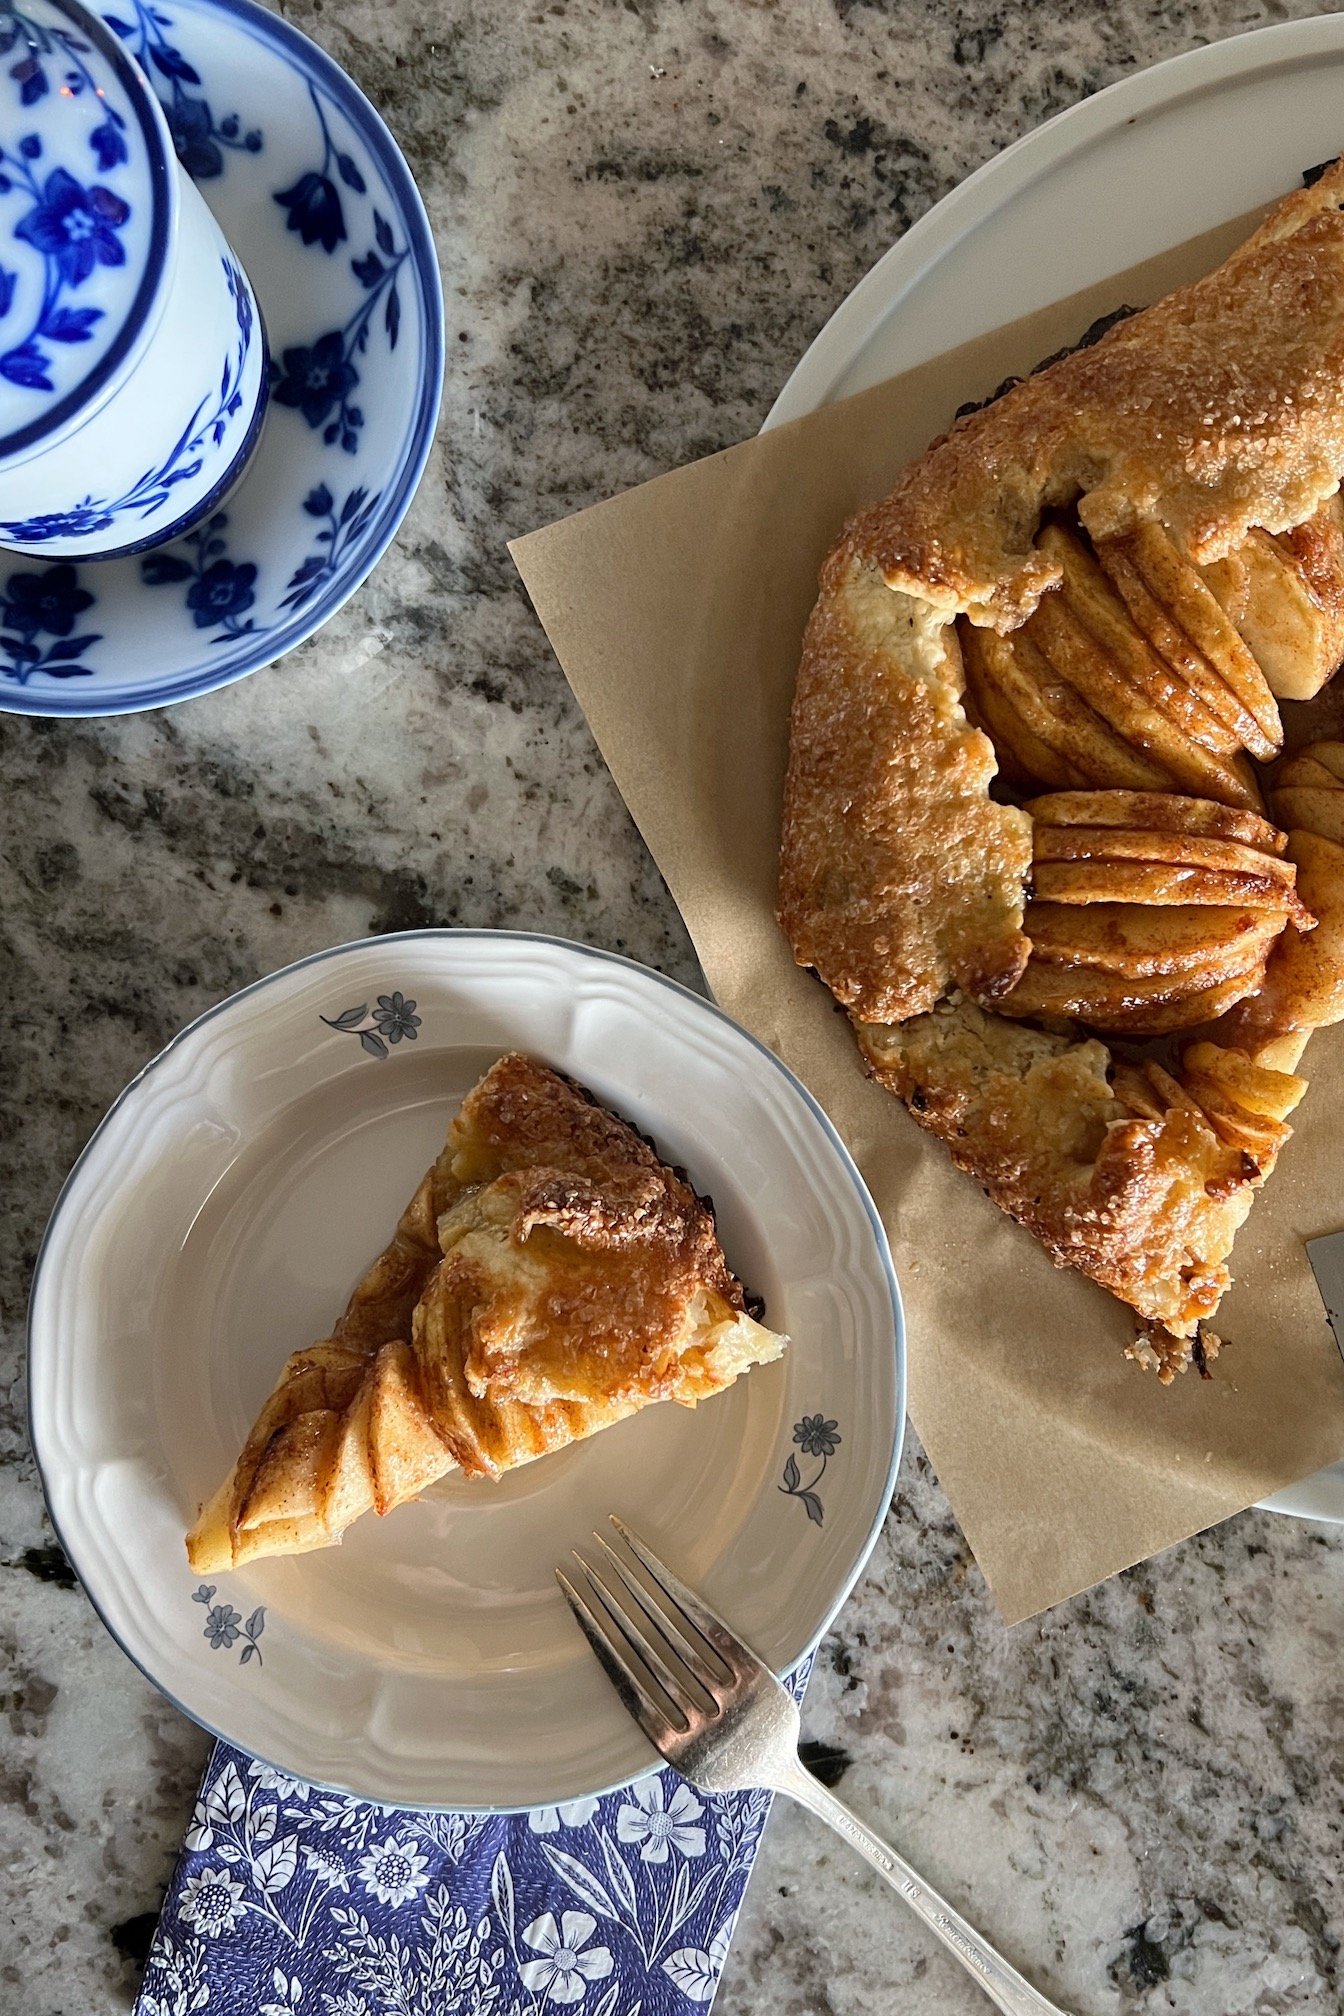
Top with your favorite vanilla ice cream or whipped topping, or enjoy as is. Best served warmed!


Xx, Riss
pin for later